

~an empty glass container ...{sauce jar, wine bottle etc}...
~tissue paper or another thin paper ...{I've found some beautiful papers at the Art Store in
Syracuse}...
~a nice complimentary ribbon, twine or lace
~inexpensive craft glue
~a touch of water
~a paint brush
~a battery powered candle
~any other embellishments you would like stamps, buttons etc.
First eat some delicious spaghetti smothered in pasta sauce. Okay so I suppose using an empty container that's been sitting around your home or is rescued from your recycling bin would work fine too. Clean it out, remove the label and any stamps that have been printed directly on the glass. If you can manage get the sticky stuff off that's great too. I've found that removing the annoying sticky stuff with Windex and paper towels should do the trick. ...{don't beat yourself up perfectly removing the stickiness it'll likely be covered up later}...

Second. Select something to cover your jar with. I've used tissue paper for the base of most of these pieces. cut your paper to fit around your jar. When measuring the height leave enough room to wrap your paper around the bottom and top of your glass. I cut my paper to 7" x 11" this was the perfect size for my standard spaghetti sauce jar.


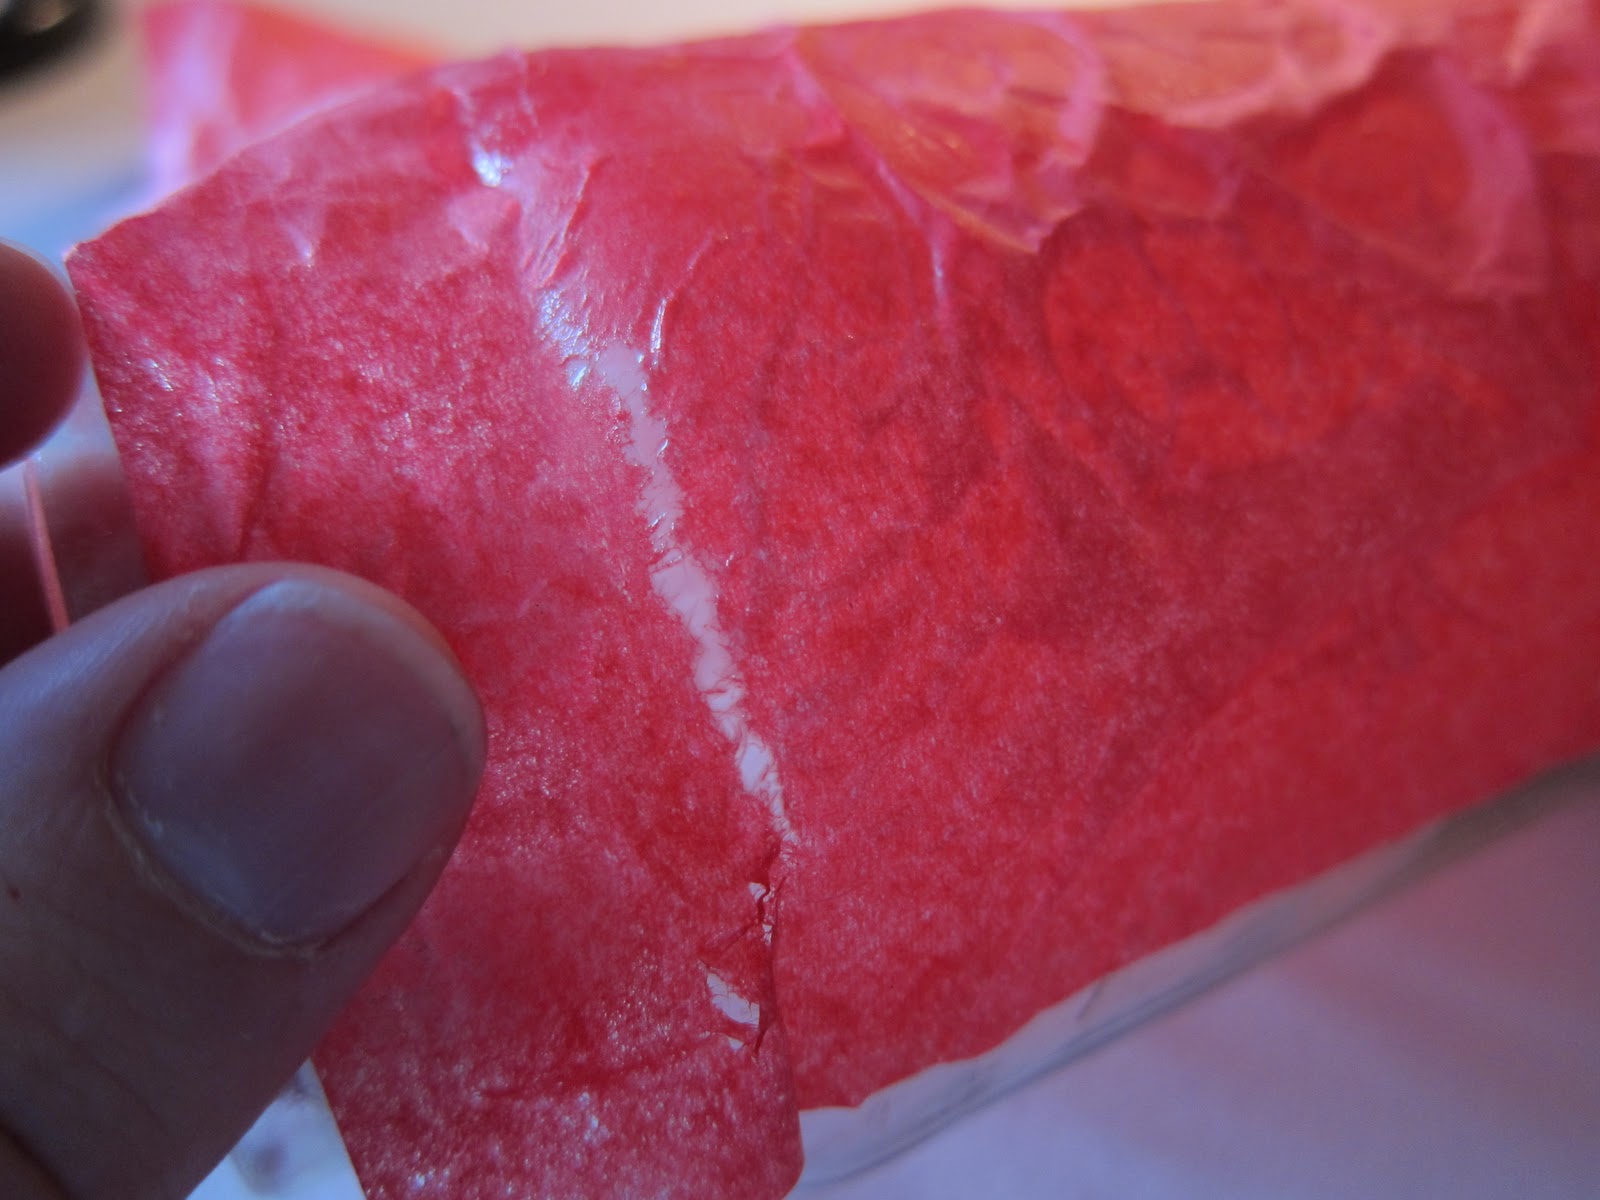
Sixth.Use your slightly moist brush to smooth out the paper. ...{be careful not to readjust your paper once it's set it becomes very brittle and will tear easily. If you're like me and wind up with a tear gently smooth it out with your brush coated in glue. Still no luck? Add a small piece of paper to cover up your goof}...
Seventh. Add a brush of glue to the bottom of your container. Then gently wrap your paper around the edge and pleat it on the base of the jar.

Eighth.To finish the top add another band of glue and fold the paper down on the outside of the jar.


 Ta Daa.Be creative and enjoy! I recommend using battery powered candles for these luminaries since most jars are so deep. If you have pictures of your project to share send them my way and I'll be glad to post them.
Very cute! I'm thinking wedding centerpieces. I have dome mason jars that I was planning on using ribbon and burlap on. Perhaps these would be cute too!
ReplyDelete