Here's where things get a bit tricky. But to be honest not to sound super cliche but if I can teach myself how to do this in a day I can certainly teach you how to with a blog post.
Please don't be scared off with the number of steps. I literally put each action in it's own step to make it easier.
So to me this concept of creating your own handmade social media buttons is a simple way of showing your awesome blog followers a little piece of you. And obviously this whole DIY project could be done for anything blog stickers or buttons and simple images. Here we go...
Supplies:
GIMP
...{Gimp is an image manipulation program~ best part is it's free~
I can't even say that. There are so many awesome things about GIMP}...
Check it out for yourself and don't just trust me read reviews online before you download.
The picture of your newly created masterpiece
...{from part1 of this series}...
Your favorite beverage
...{this may take a while}...
A message about GIMP. I just found this program last week. In that short amount of time I've created my first blog banner, created the collages for my upcoming DIY projects and I've added my website to a number of my photos. I don't know a single person who uses this program nor have I contacted the company but I did my research before downloading. So far so good, my computer is still running smoothly and I've been able to experiment and create some awesome things all while teaching myself.
I'll assume you've already downloaded GIMP.
1st Open the program then go to File> Open> and select your picture.
Be sure that you have two open toolboxes Windows> select Toolbox & Windows> Tool Options, Layers
2nd Go to the main toolbox ...{with all of the little icons}...
Select the circle tool
...{if you'd rather you can use a square or
if you're really adventurous you could use the free select tool}...
 |
| Don't be envious of my classy arrow in the top right. I'll working on doing something better in the future~ promise! |
3rd use this tool to make a perfect circle around the section of the image that you want to keep ...{for a symmetrical circle hold shift while forming your shape}...
If it's not centered simply click and drag the circle to where you want it
or if it's not the right size grab onto a corner and drag to the shape you want
4th Press Control and X (to cut your shape out.) Don't panic when it disappears!
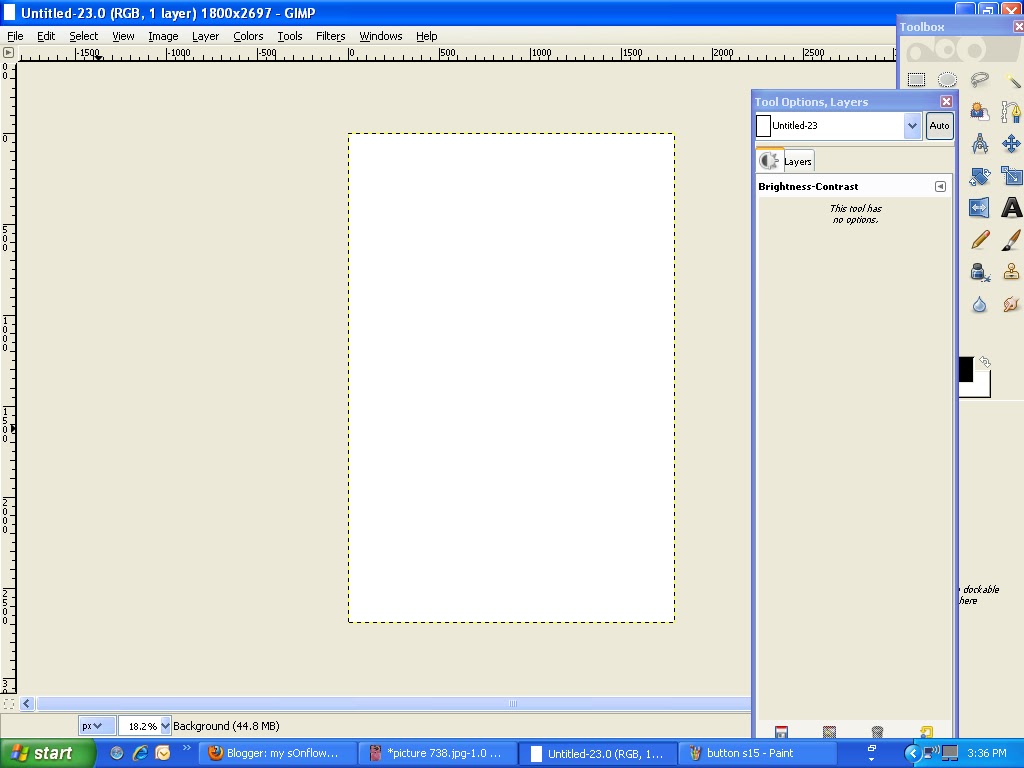
5th go to File>New> click OK (size doesn't matter right now)
From now on forget about your first file but don't close it just yet...{it's always great to have the option of opening it back up and pressing Control Z to undo your last cut in case something goes wrong with your new file I'm all about backup plans here people!}...
6th Transparency
Time to make your background transparent ...{I love this step it makes me feel so professional!}...
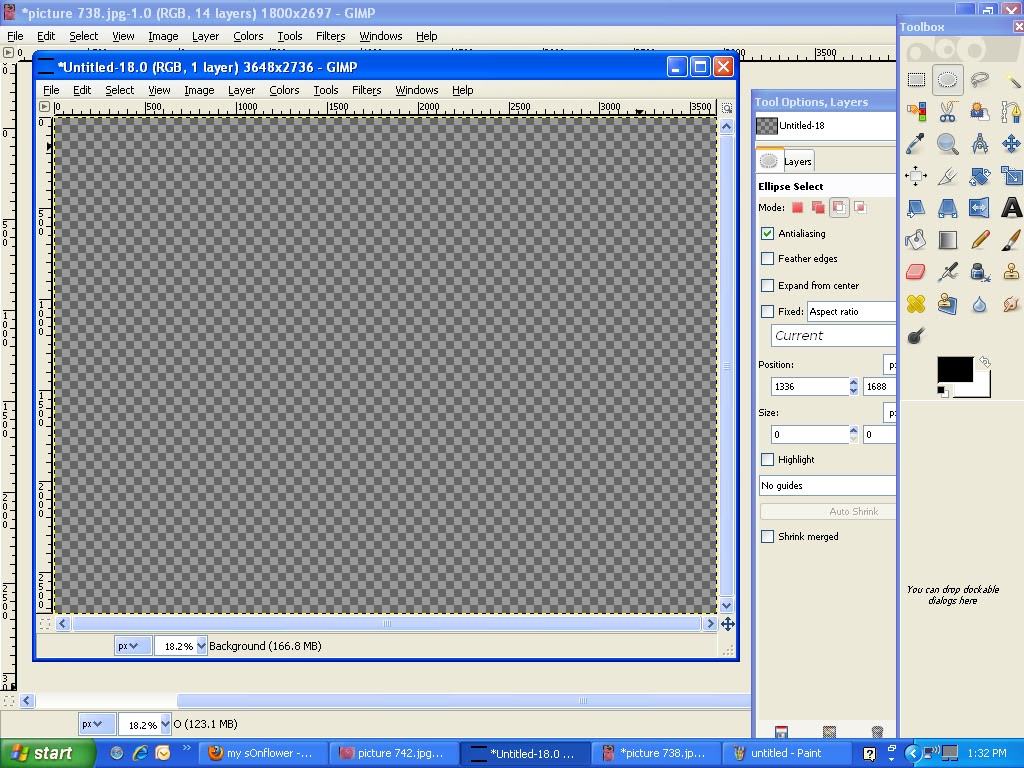
go to Layer>transparency>add alpha channel (your drop down menu will disappear)
Click in the blank white space and press Delete!
...{you'll end up with a gorgeous checkerboard indicating a transparent background}...
7th Press Control P (to paste your shape onto the transparent background)
8th Move your image to the upper left corner of the screen.
9th Go to the menu bar and select Image>Canvas Size
10th Using the small arrows decrease the size of the canvas until it fits snugly around the outside of your shape.
You may need to deselect the chain button
(as shown in the first picture below if your shape isn't exactly symmetrical)
11th Time to great creative ...{again}...
Go to the menu bar and select either Colors or Filters to experiment with some neat special effects. For this project I went to Colors> brightness and contrast.
Remember after ANY change that you don't like just press Control Z to get back to your previous state. GIMP will allow you to Control Z about a zillion times in a row which is amazing.
12th It's re size time!
Go to the menu bar and select Image>Scale image>adjust width and height to your desired size.
...{I went with 60px x70px
turns out my shape was more oval than circle but I'm fine with that}...
13th Go to the menu> File> Save
I added .png to the end of your file name you could use .jpg or .gif also though some of these formats don't support transparent images from what I understand.
(blogger allows you to import .png files double check that your site does)
14th If you saved as .png new window will pop up click> export
15th The last window will pop up I click save.
Now your ready for the final part of this series ...{buttoning up}...~i promise part 3 is simpler}... Way to hang in there and make a beautiful button you ROCK!
I'm glad to help. If you have any questions send them my way!
Hang in there and be sure to add the
"I made my social media buttons with help from my sOnflower" button to your blog.